To get good analytical data, sample preparation is probably the most important step in the process to get right. Any mistake that happens here will significantly influence the final data, which is bad enough, but, to make things worse, it will not be obvious that something went wrong! So during sample preparation we have to make sure of several important things:
- The (sub)sample we take has to be representative of the full sample. This means that the amount of sample we break off or drill out of the sherd has to be sufficient to contain the same mixture of grains that make up the sherd itself. This means that for fine-grained samples we can get away with smaller sample sized than for large-grained samples.
- The sample we take corresponds to what we want to analyze. This means that we have to take care that whatever sample we take really comes from the original sherd, not from a repair that was done at some time in the past or from some glue or other foreign substance. If there is a glace or slip on the surface, or some soil or clay still sticks to the sample, cleaning is necessary (but see the next point!).
In the case of several small pieces, we have to be really sure that they all belong to the same vessel. When in doubt, I prefer to take several samples. - There must not be any contamination of the sample. Contamination can be either cross-contamination from another sample or a foreign contamination from the tools used. Cross-contamination can usually be avoided by carefully cleaning the tools used as well as any surfaces touched by previously prepared samples. Apart from cleaning everything thoroughly it is usually best to only work on one sample at a time.
To avoid contamination from other sources, it is very important to use the right tools. The main components in ceramics are silicon (Si), oxygen (O) and aluminum (Al). Minor contamination with those elements are usually acceptable, especially since those three elements are not measured by Neutron Activation Analysis (NAA). However most metals are interesting for analysis, so contamination with iron (Fe), chromium (Cr), nickel (Ni) and so on have to be avoided.
I found that the best way to do this is to use tools either made from (clean!) polypropylene (hammer and cutting board), paper (surface coverings), silicon (blades for scraping) or alumina (drill bits). - Finally, we must take great care to never mix up or confuse samples. Once they are powdered for analysis, all samples look the same, so make sure that everything is labeled correctly, especially before taking a break!
Following the considerations above, I use two similar ways of sample preparation, either breaking off a little piece of the sherd or using an alumina drill set into a cordless screwdriver to collect drilling dust. While breaking off sounds more dramatic, I actually prefer this way of sampling to drilling, since it offers more control over the sample size and has less chance of contamination.
Breaking
When breaking off a piece of the sherd, I either use a small pair of pliers (you can see them in the first picture below) or I put the sherd, wrapped in paper, on a polypropylene cutting board onto a small spatula where I want it to break. Then I hit it with a polypropylene hammer. With the correct mixture of force and technique I usually get the break where I want it. The size of the piece needed depends on the grain size of the sample, but in most cases a piece of 5x5x5 mm is sufficient. After breaking off, the sample needs to be homogenized, which I do in my agate mortar:
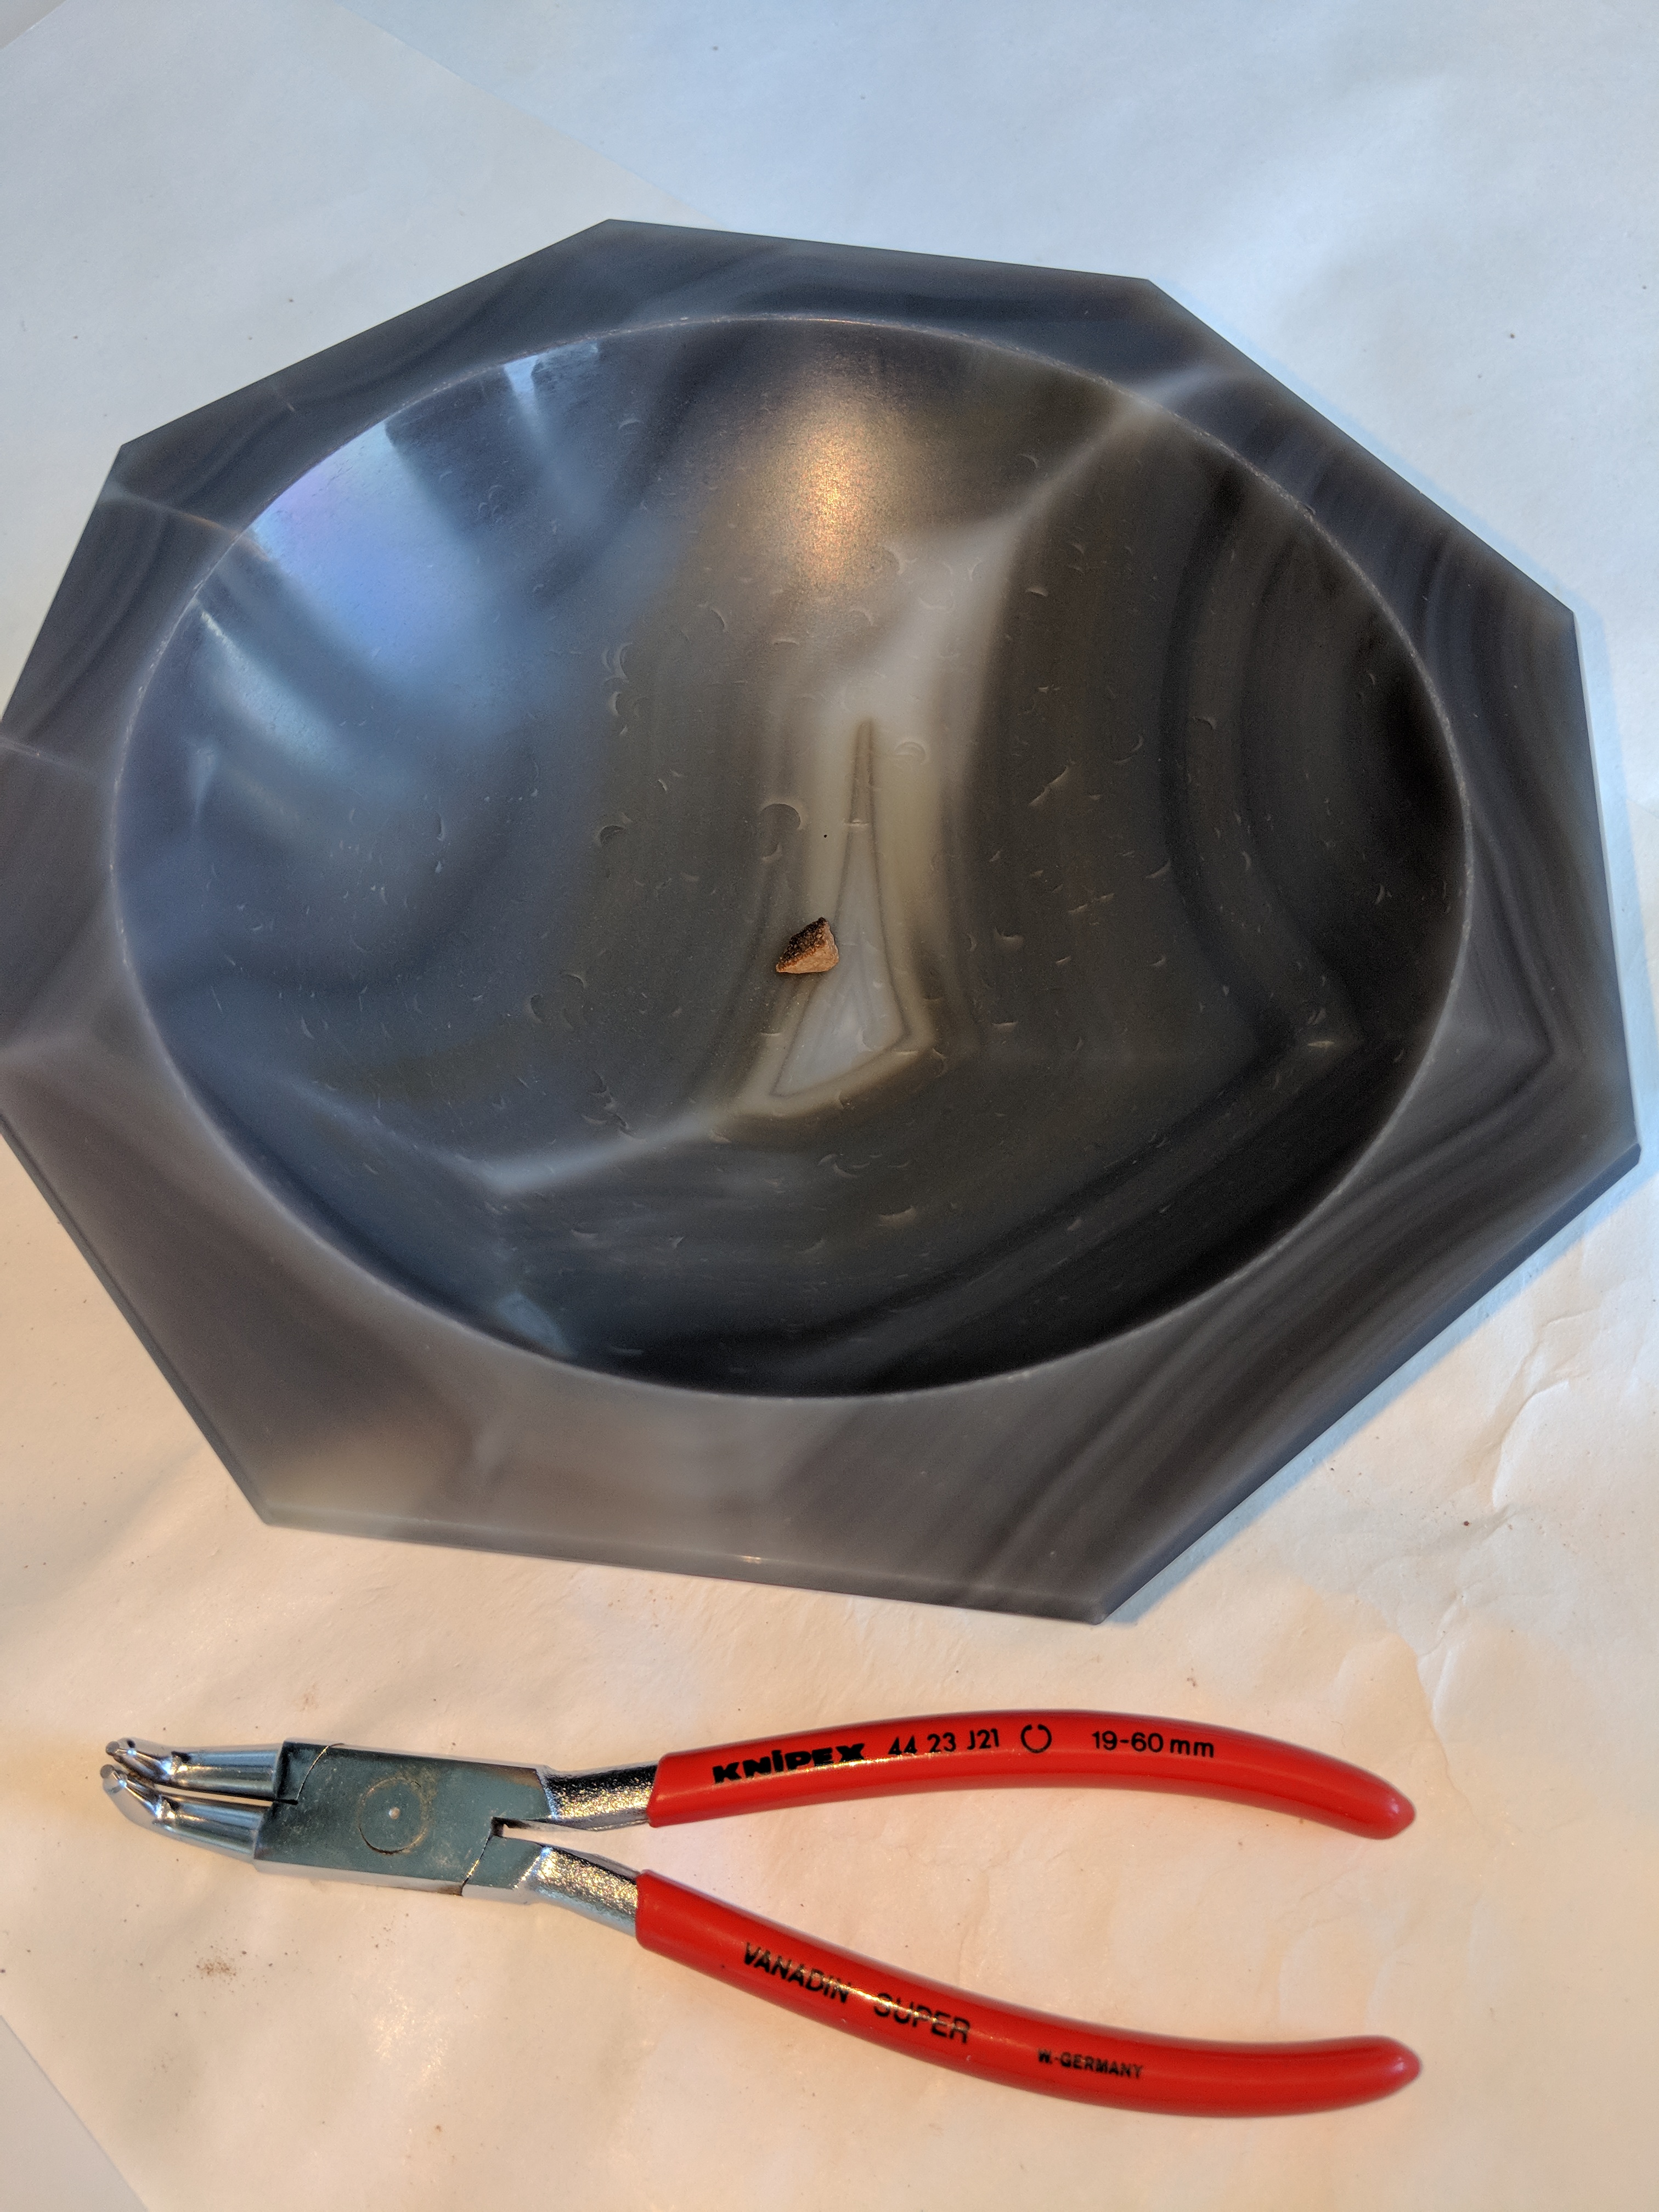
agate mortar with a small piece of sherd 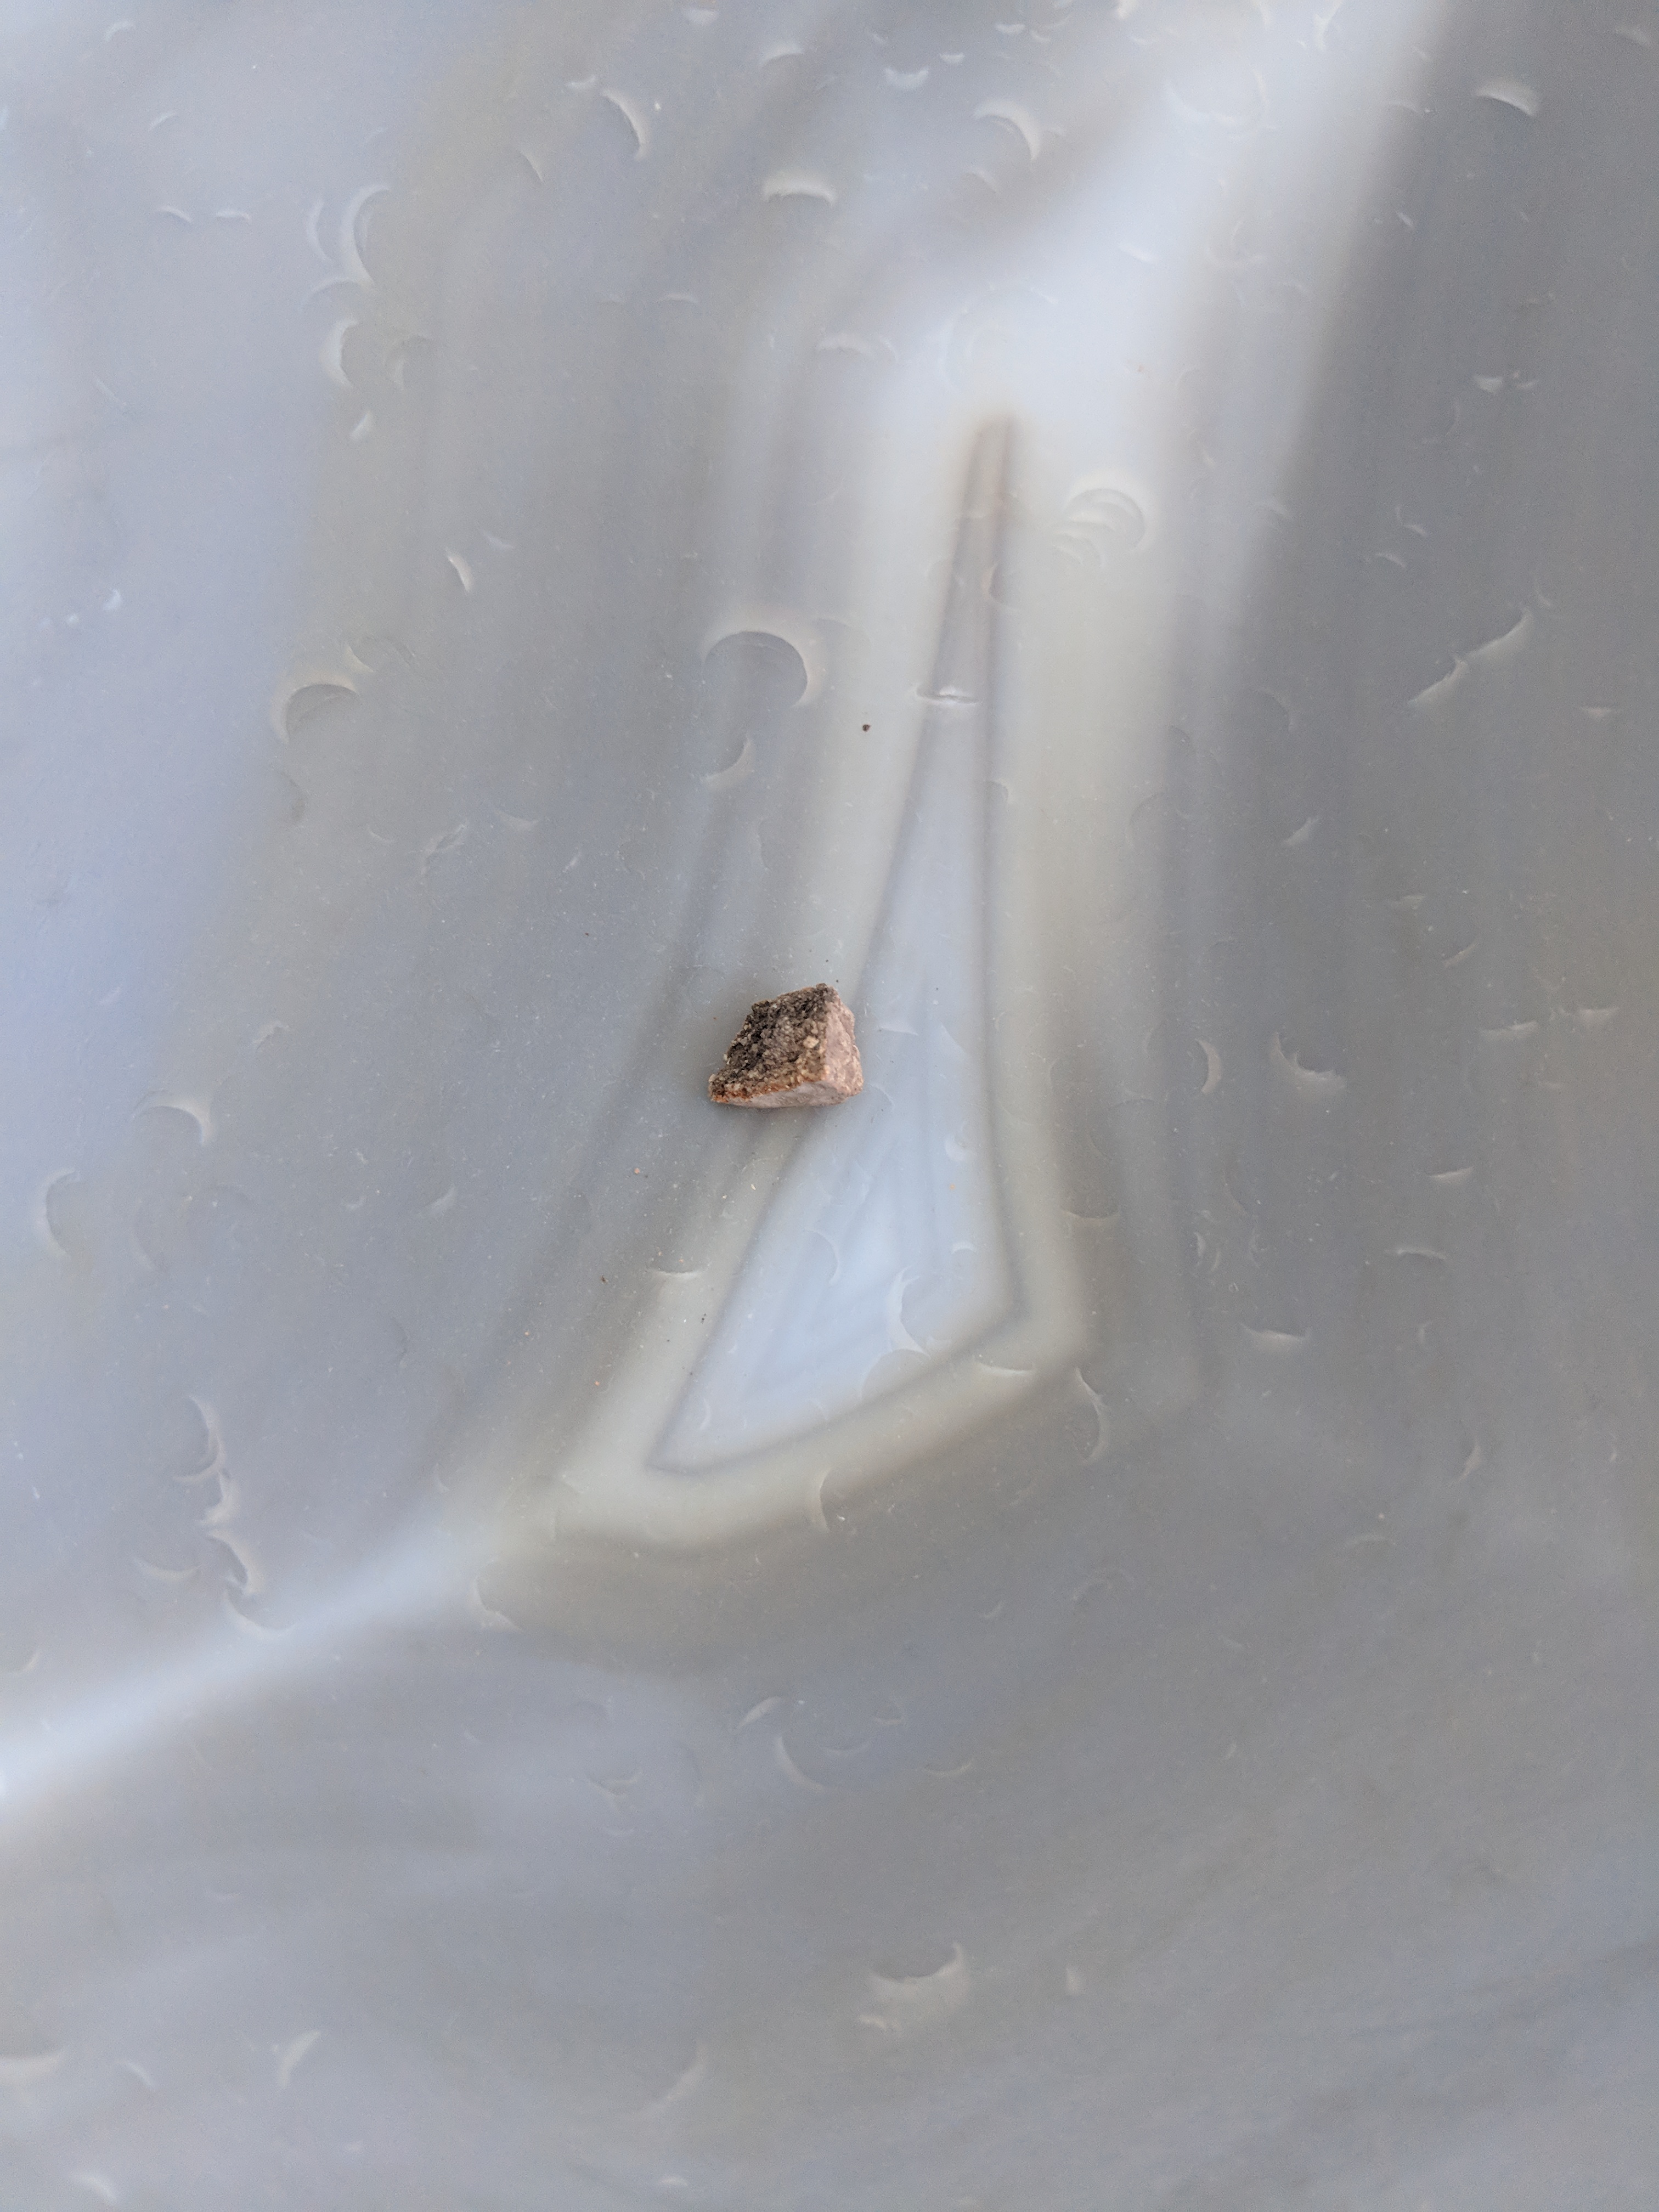
small piece of sherd in agate mortar
Once the piece is in the mortar, I use the pestle to crumble it up. Working with agate, it’s important to never hit or strike with the pestle, but only apply slow pressure. In the video below you can see the homogenization of a sample. If you look carefully, you’ll see that at some point the color of the dust changes and becomes much lighter and the volume seems to increase. This is an indication that I have reached a grainsize of approximately 3-5 µm, which is sufficiently small to consider the sample homogeneous.
Drilling
As I mentioned above, while I prefer to break off little pieces of the sample, drilling is also a viable way of taking a sample. Since contamination is a much bigger issue here, I got myself some fused alumina pieces and a fixture where I can put the alumina rod into my cordless screwdriver. With this, it is possible to slowly drill some material out of the sherd. When doing this, it is very important to bring a lot of patience. If the pressure applied is too high, two bad things can happen:
- The alumina rod can break, in the worst case slicing open your finger. In any case, you’ll loose the sample dust you drilled up to this point.
- The sherd can break into pieces. This would completely counterproductive to the primary reason to use a drill, which is to make the least possible impact on the sherd.
In the video below, you can see me slowly drilling a hole into a sample. In this case, the sherd is fairly soft, so drilling works quickly. There are cases where it took me more than 45 minutes to get 50 mg of sample dust. Once the drilling is done, the sample dust collected can be considered as sufficiently homogeneous, same as after crushing in the mortar.
Drying and weighing
Once the samples have been reduced to powder with one of the two methods above, they are dried, at least over night, in an oven at 100°C to remove any remaining water. After this, an aliquot of 100-120 mg is weighed into Suprasil™ pure quartz glass vials which are then heat-sealed. To later be able to identify the vials, they are engraved with the sample number. Once this is done, the outside of the vials is cleaned by washing repeatedly with water and finally with distilled water. Anything that adheres to the outside of the vials will also become radioactive during neutron activation and will need to be removed before the measurement. And since it is much easier to handle the non-radioactive samples (before activation), I prefer to put some effort into this final cleaning step.
Once all vials are cleaned, up to 50 of them are stacked into an irradiation capsule and are ready for irradiation.